
Build with Codestax by Movestax
Welcome to Codestax! This guide will help you get started with your first project in just a few minutes. From a prompt to a fully production deployed website seamless.1. Sign Up and Log In
- Visit the Codestax login page.
- Create your account using your email or existing OAuth methods (Google, GitHub or e-mail).
- Once registered, log in to access your Codestax initial page.
2. Create your first application with backend
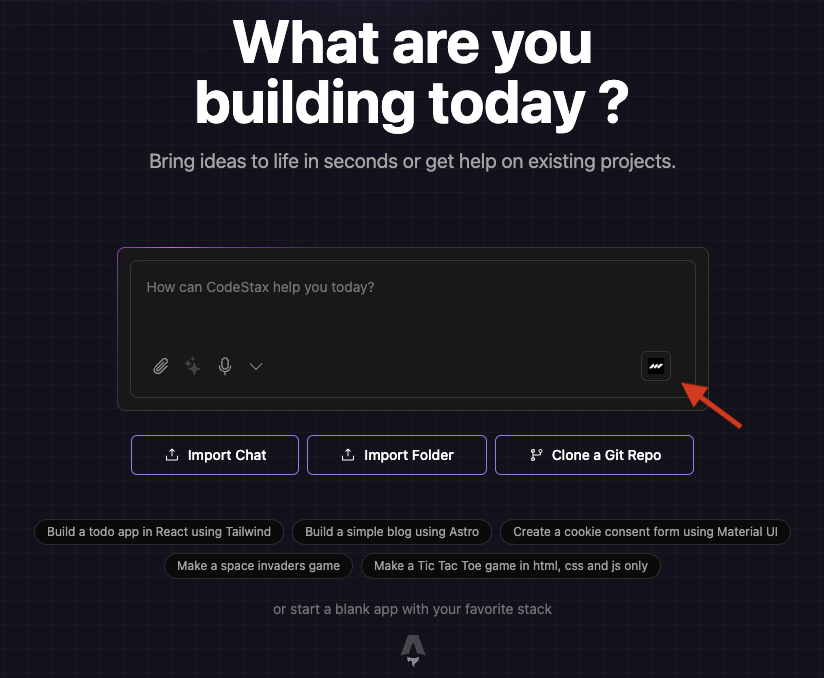
- Type your prompt asking for example to have a user session, or to store your grandma’s recipe into a database.
- Codestax will generate the code and propose scripts to create tables, views and other objects automatically.
- If you decide to run the database within Movestax ecosystem you should first create a PostgreSQL for your project as described at under Concepts -> Databases, make to click at Movestax logo under the chat session.
- Select your chosen database.
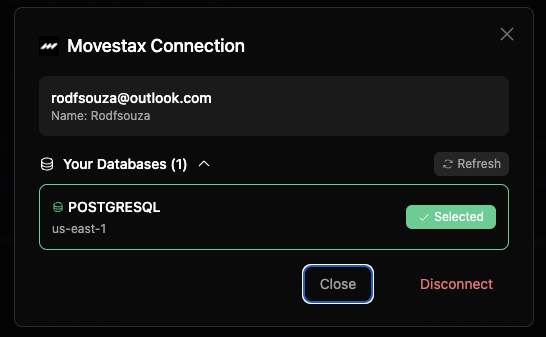
- Once the database is selected after the artifacts for your database are generated you should see a screen similar to the one below:

- With the database selected, click Apply Changes, Codestax should connect to the database and create the objects as specified on the script.